Experiments · 05 Oct 2026 · 4 min read
Understanding STL & layer height resolution and its impact on 3D printing
DFAM - DD559
A short experiment from the Design for Additive Manufacturing course: one model, printed at different resolutions, to understand how STL files and layer height shape the final print. Submitted by Anukriti Tripathi.
Step 1 · Designing a product
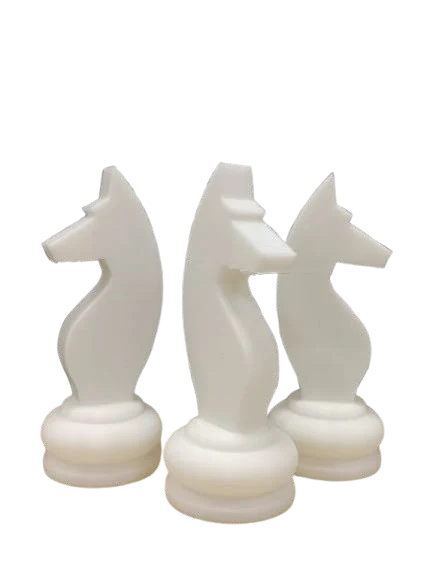
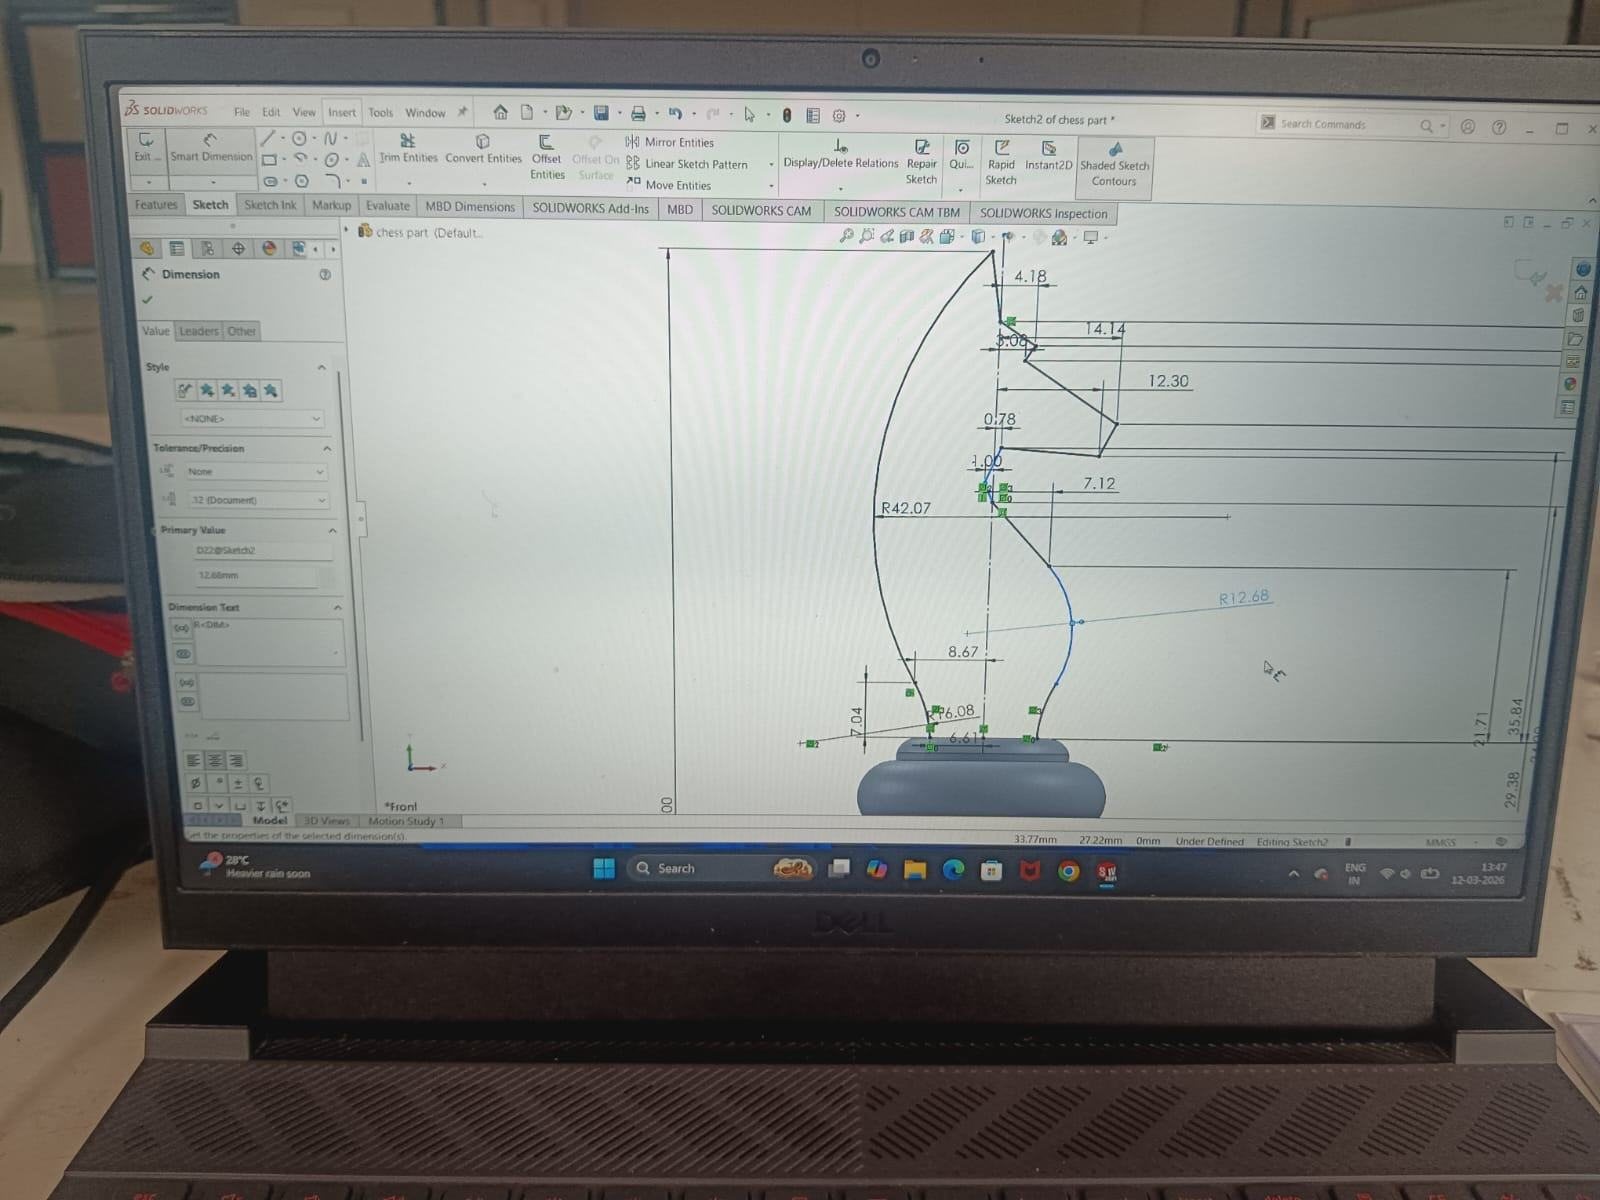
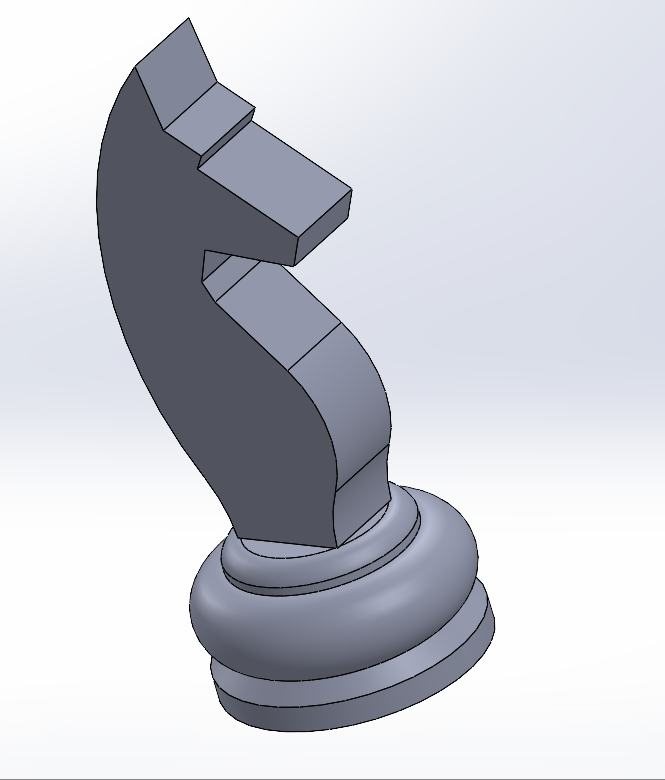
I chose the chess knight for its flowing, dynamic curves. I began translating this form into a 3D model in SolidWorks.
Step 2 · From model to print
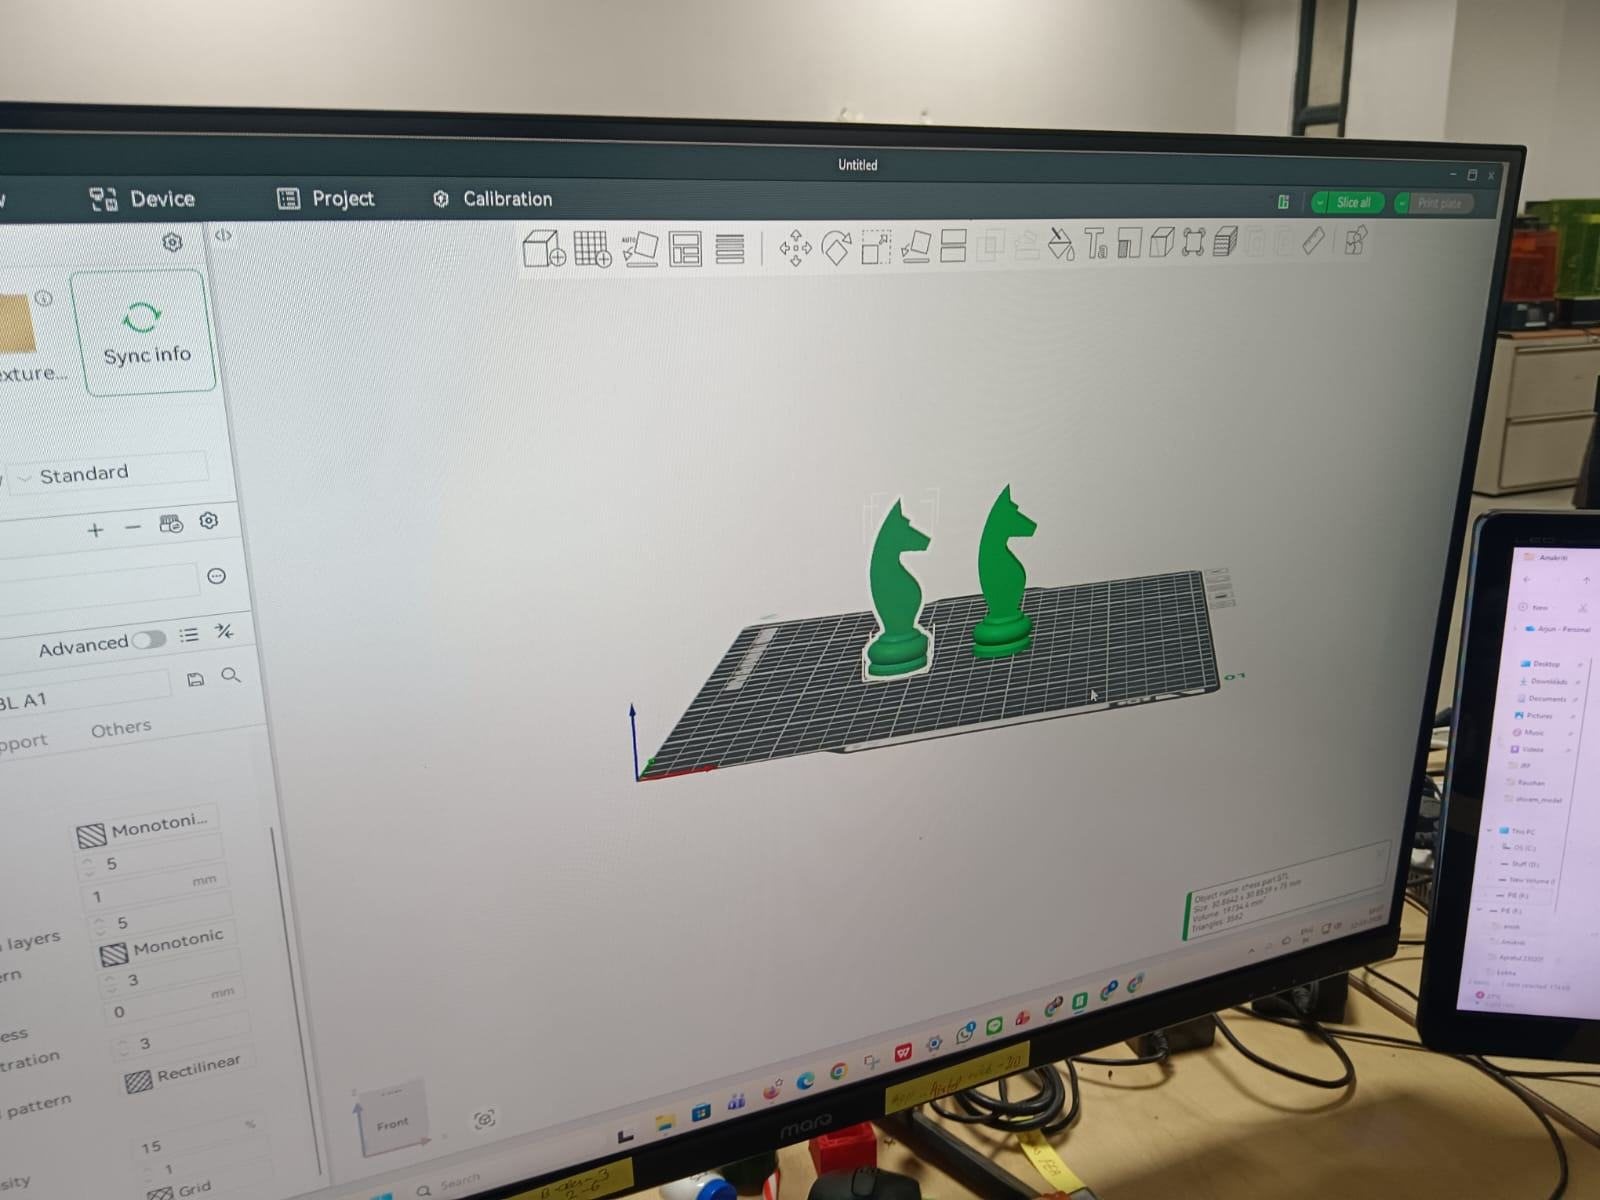
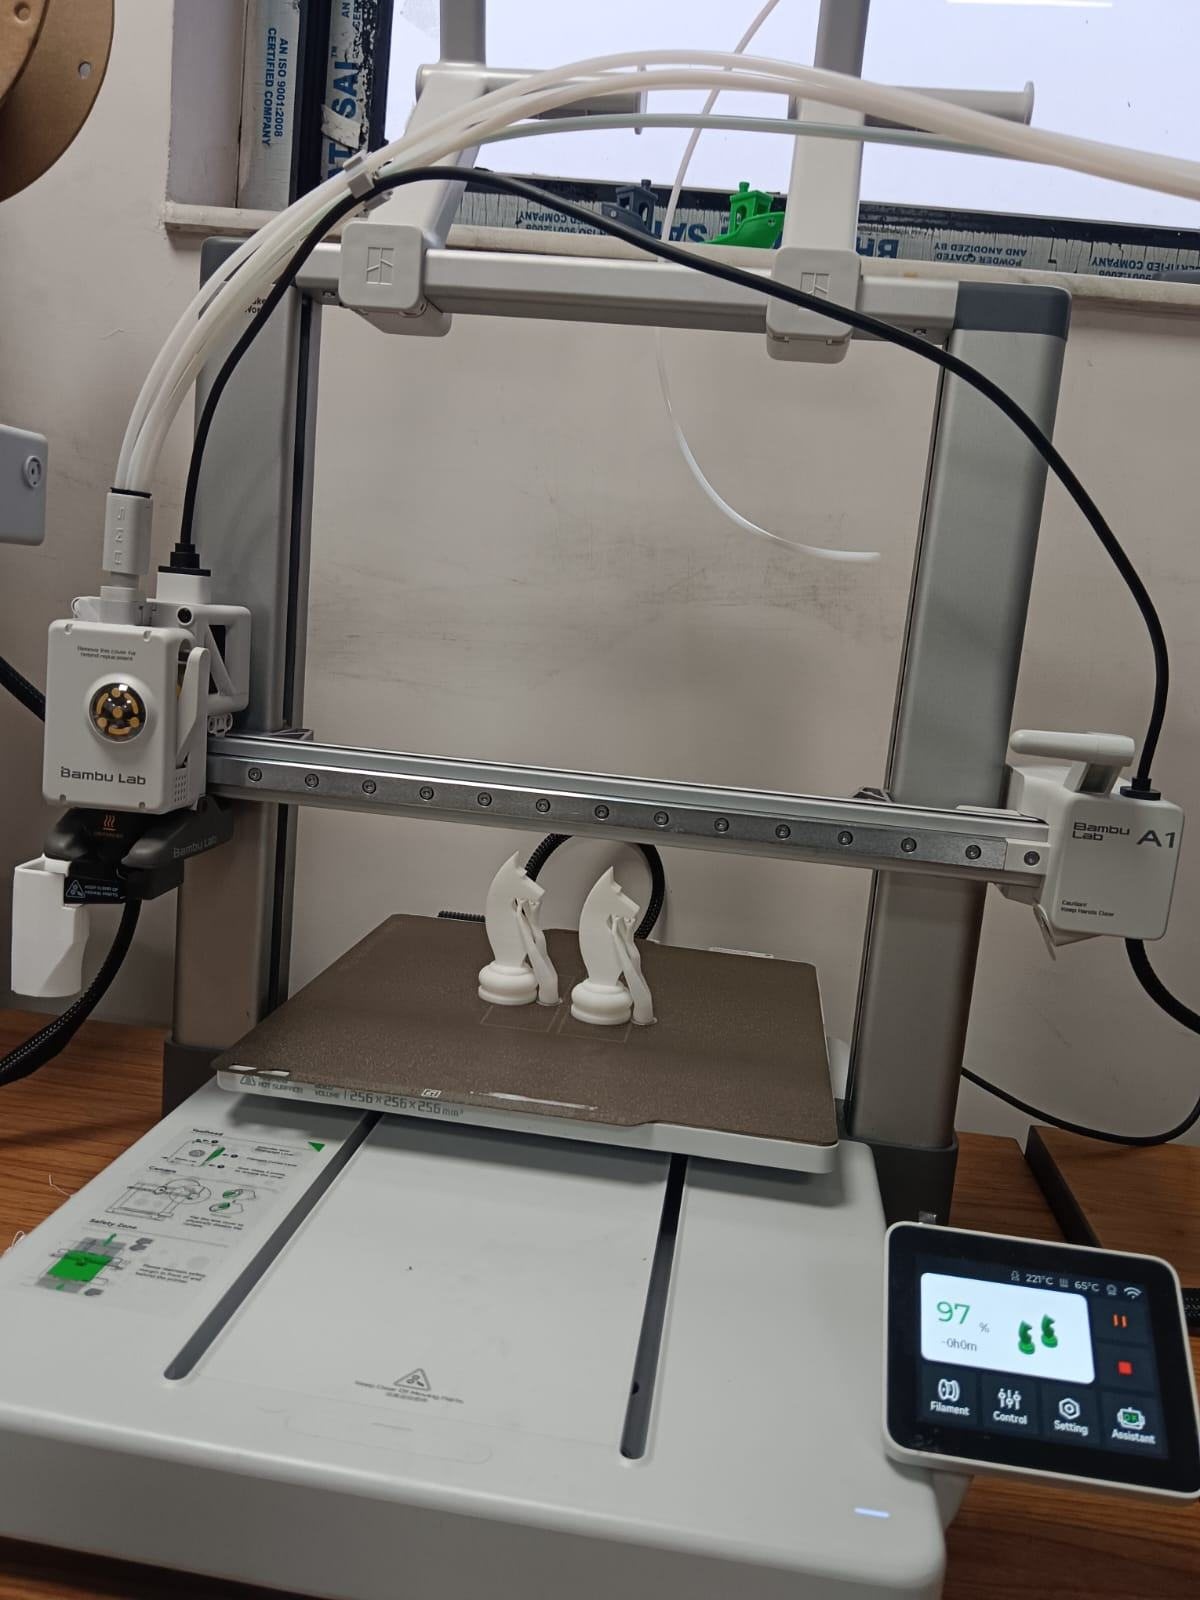
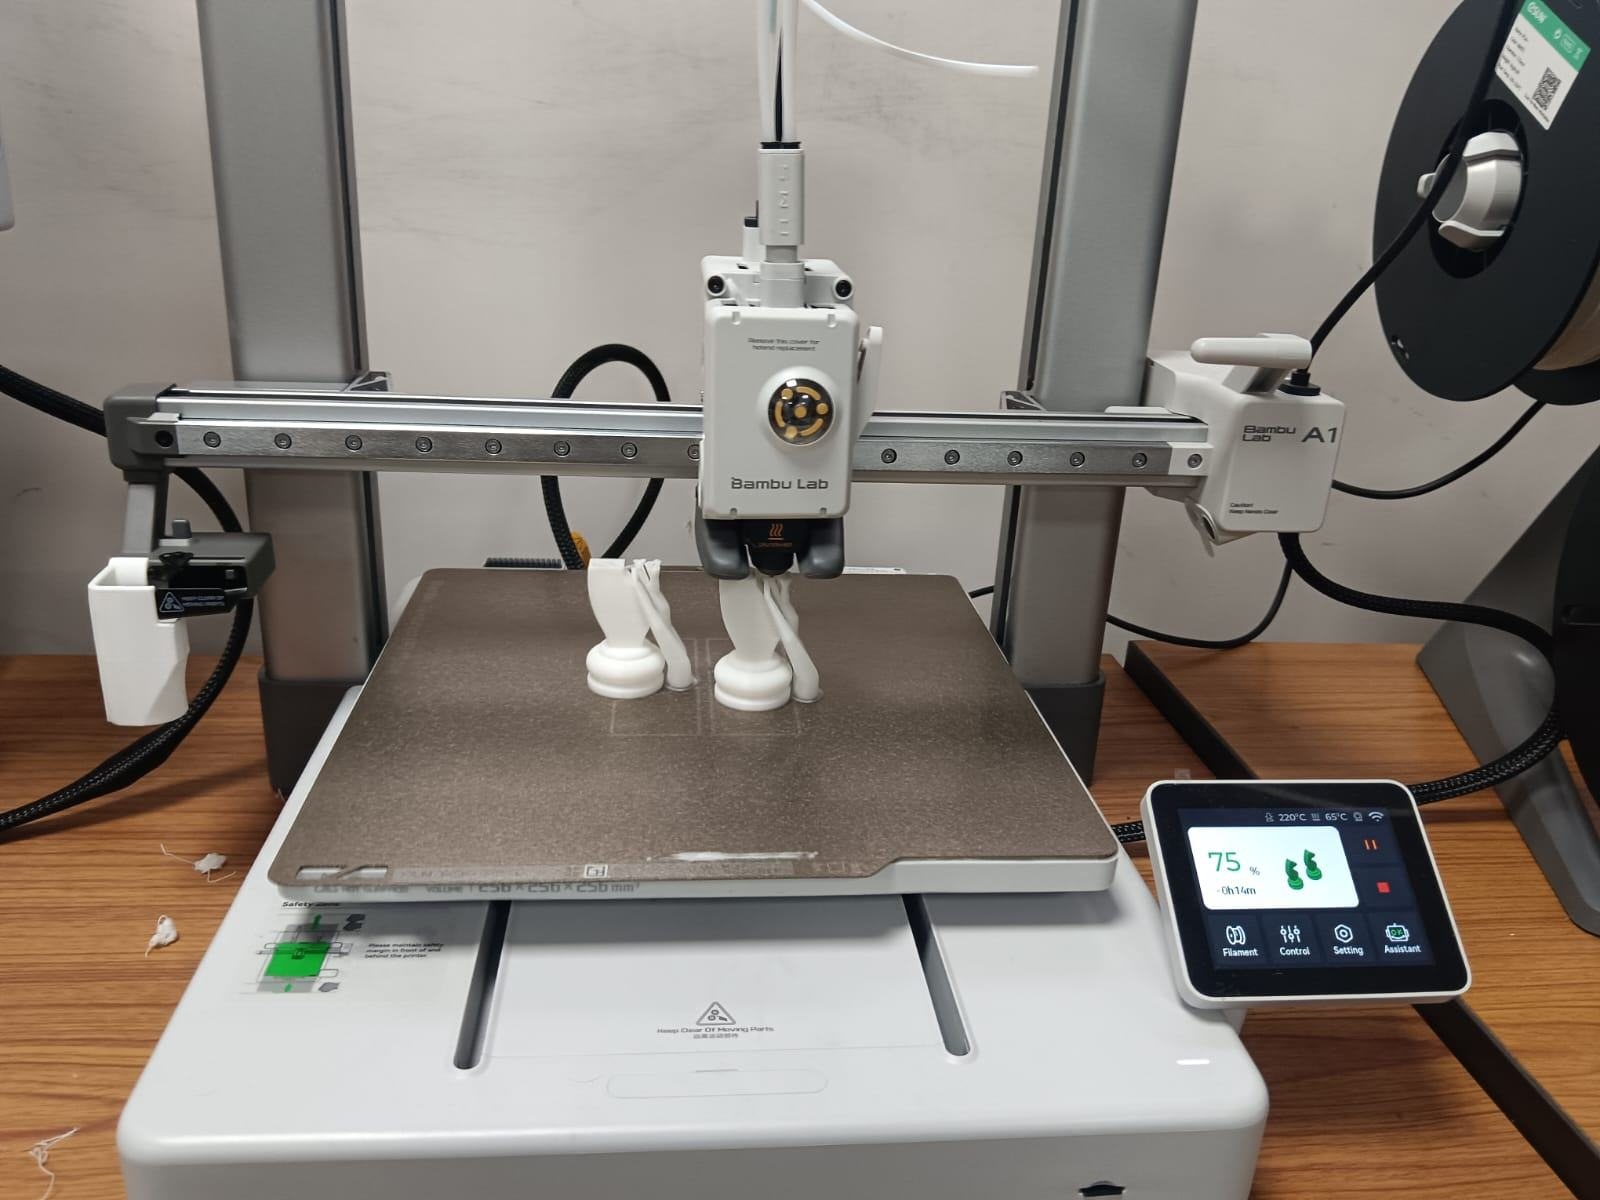
I exported the 3D model as an STL file and imported it into Bambu Studio for slicing. Due to its organic form, I used tree supports to ensure a stable print.
Step 3 · Testing at low resolution
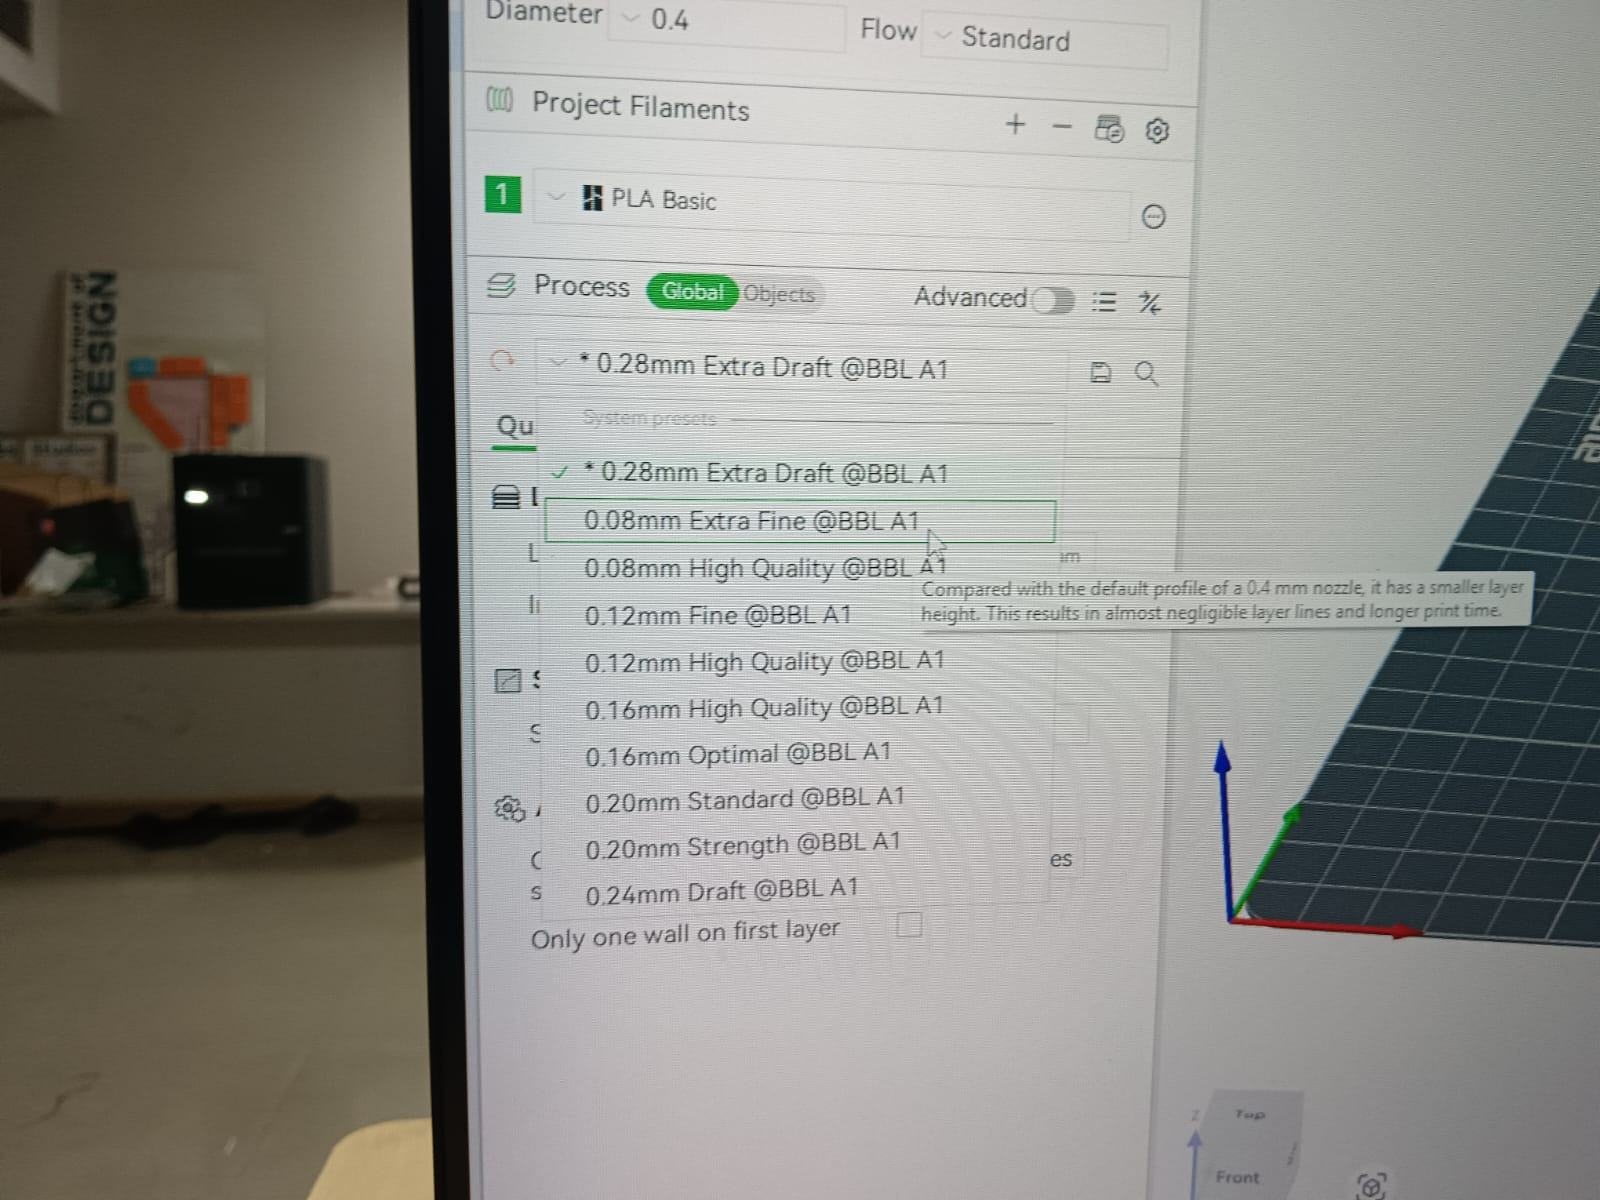
I began with a low-resolution setting of 0.20 mm, the lowest available with minimal strength. This allowed a faster print, completed in under 45 minutes.
Step 4 · Result at low resolution
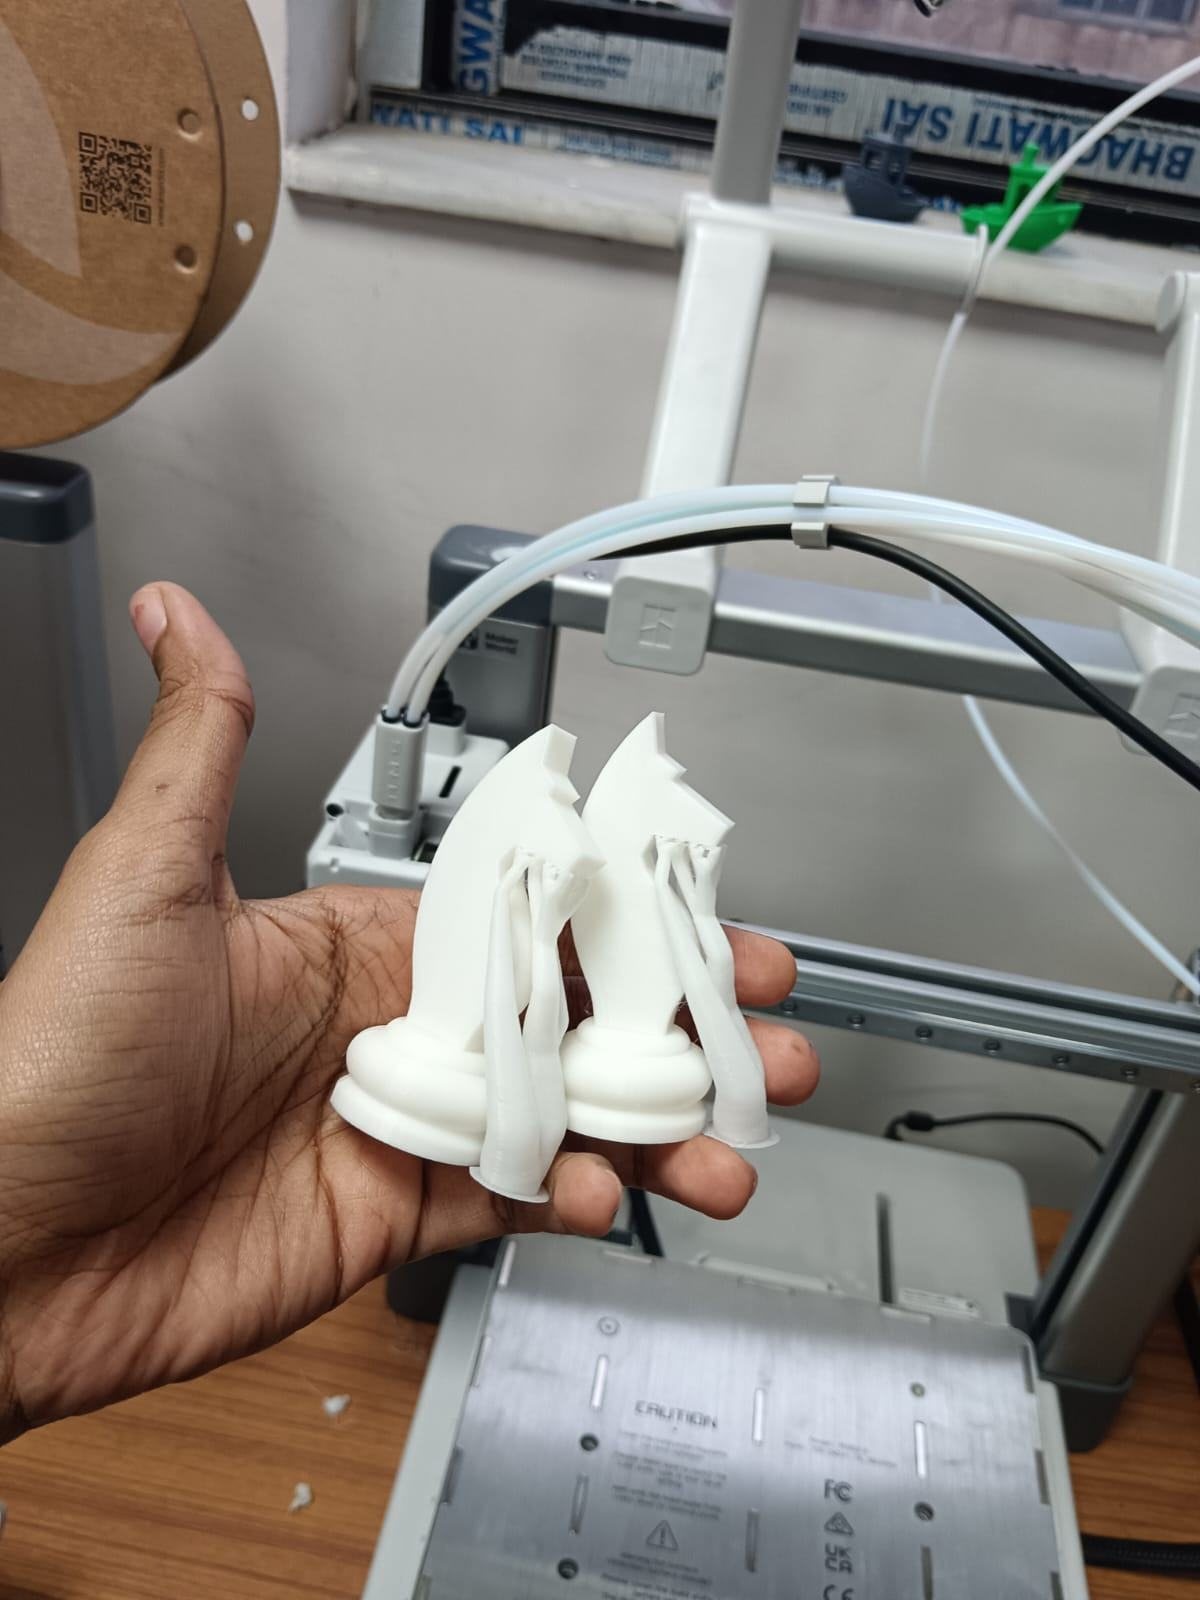
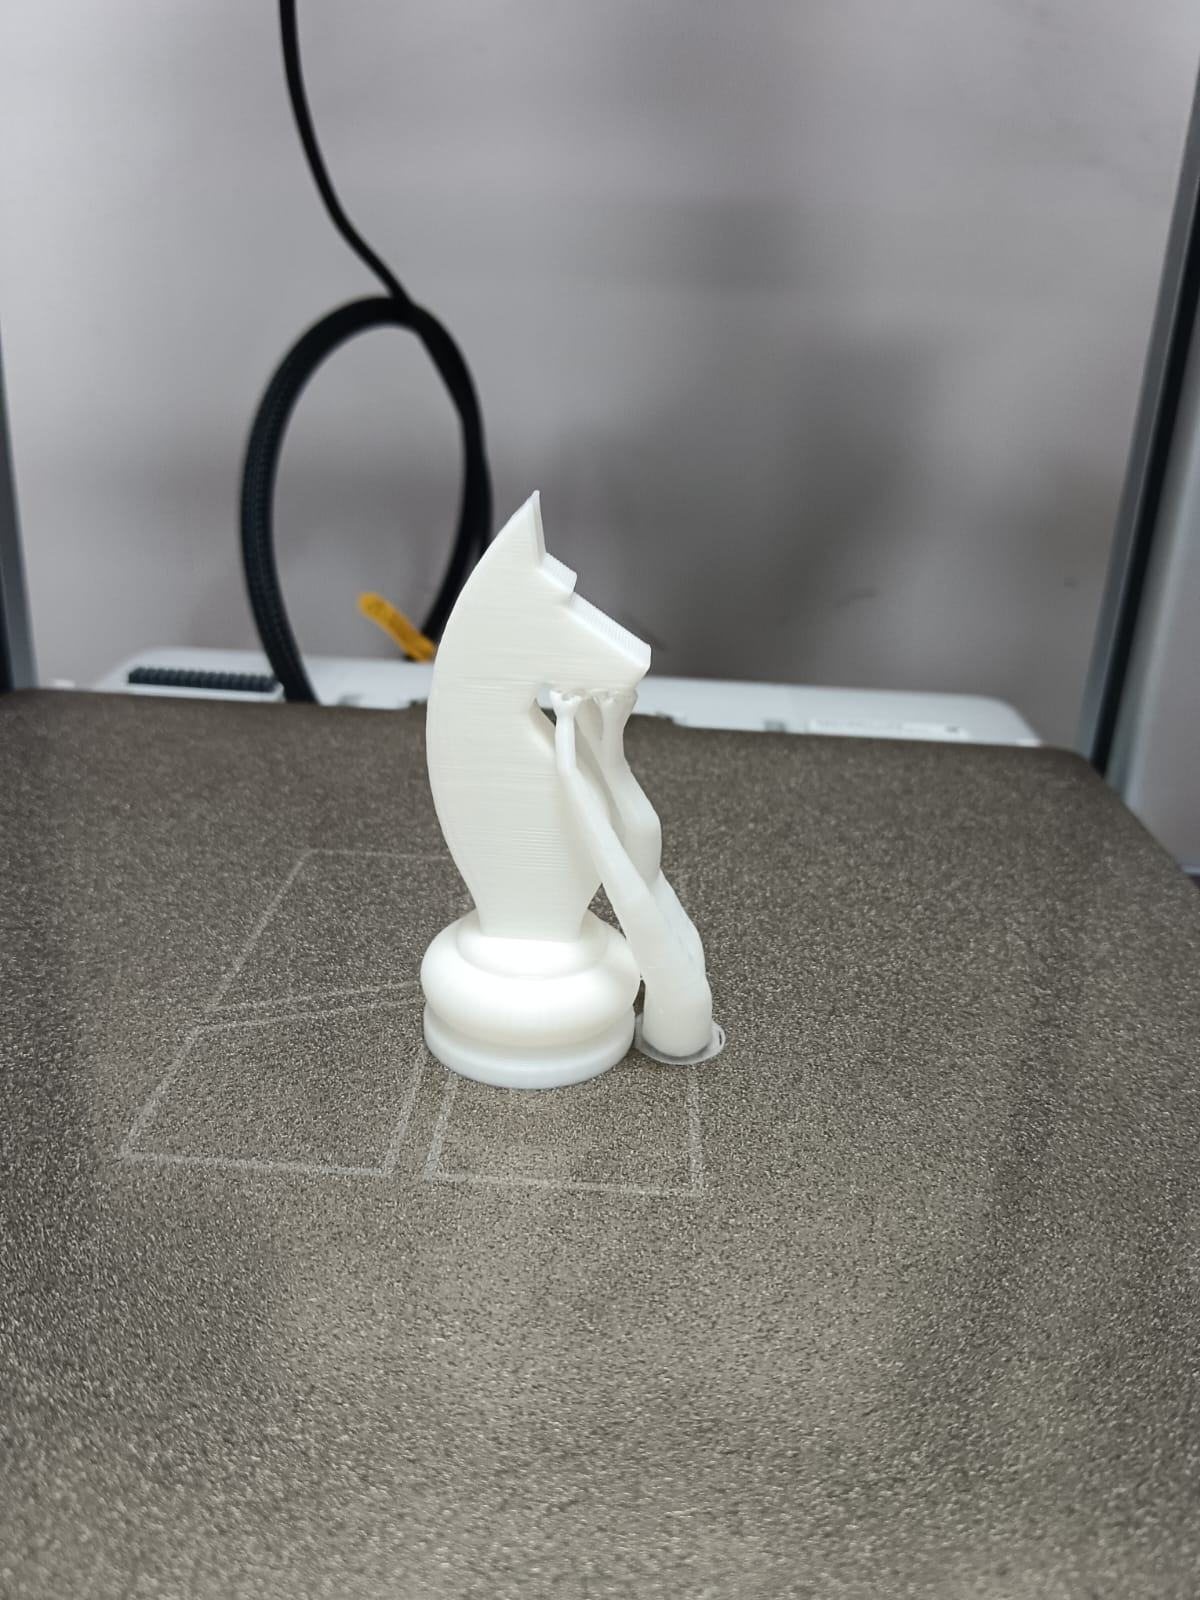
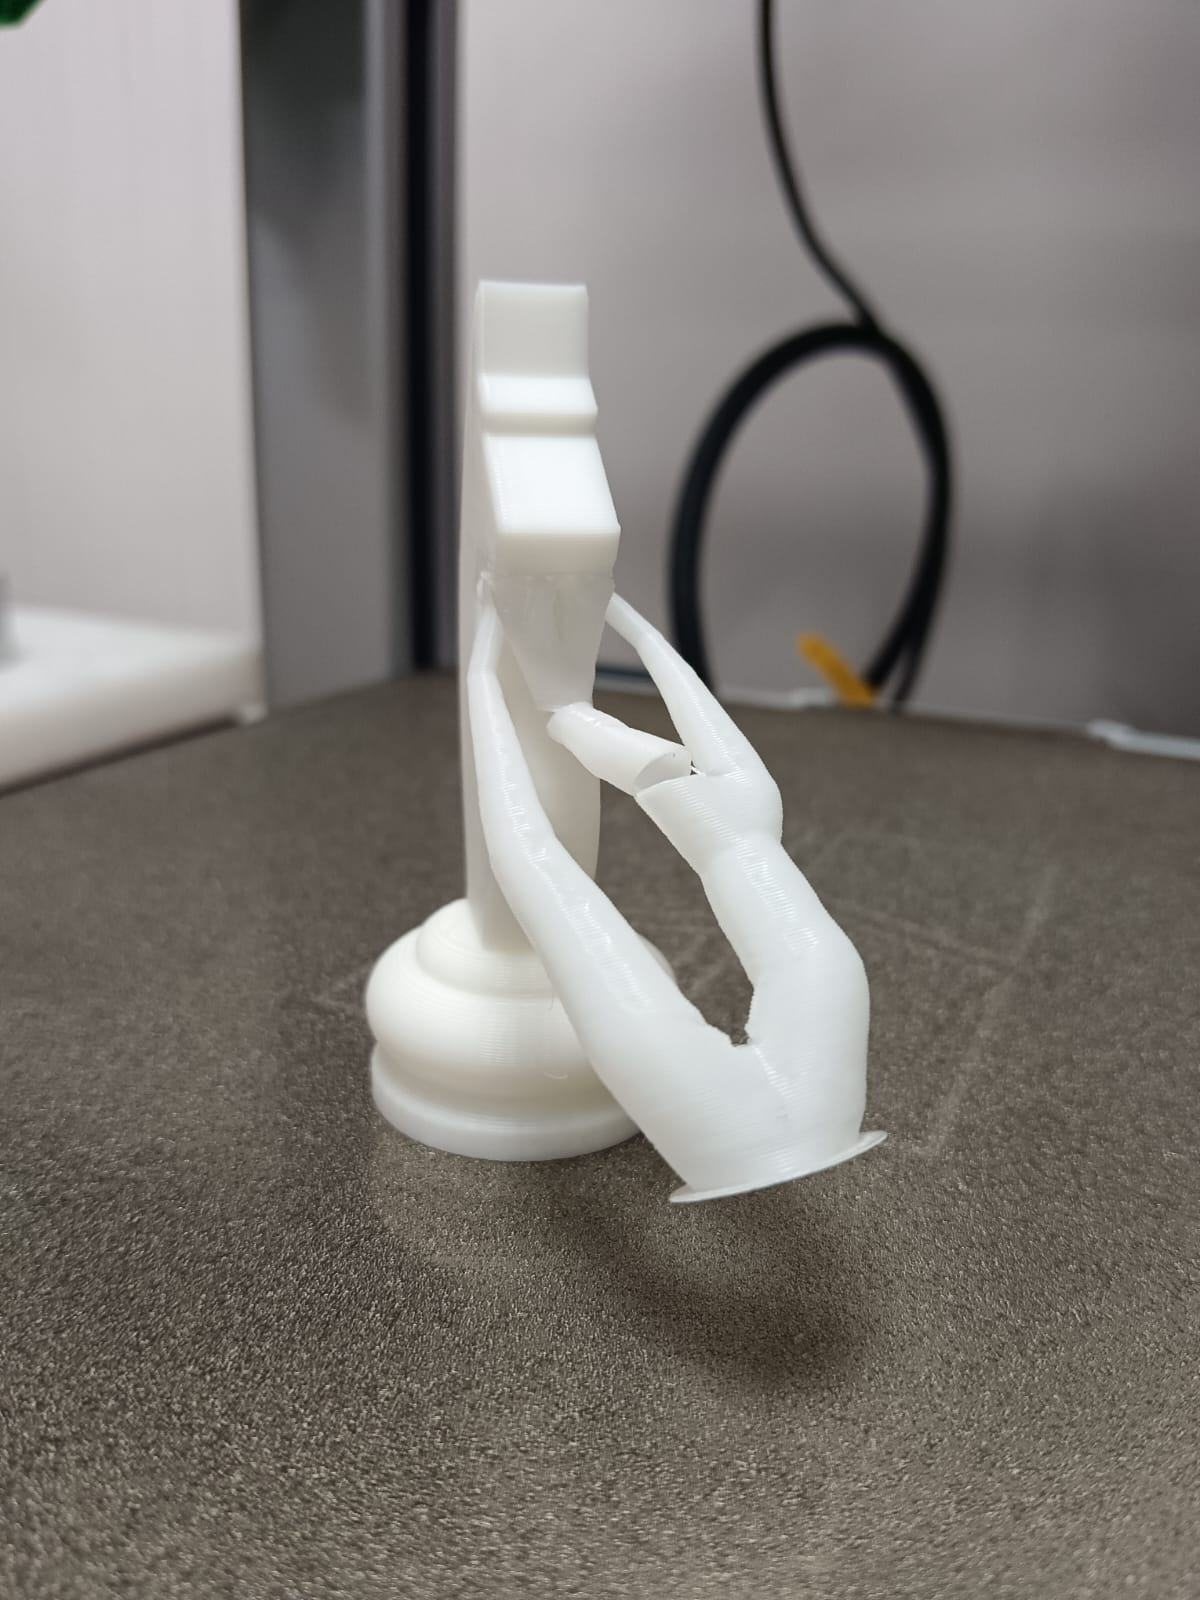
After slicing, I exported the file to an SD card and inserted that card in the 3D printer (FDM). The model formed well, but while removing the support structures, it broke at the center and the surface was not smooth.
Extra rough layer underneath the neck can be seen, and if observed closely, layers on the body were distinctly visible.
Step 5 · Testing at high resolution
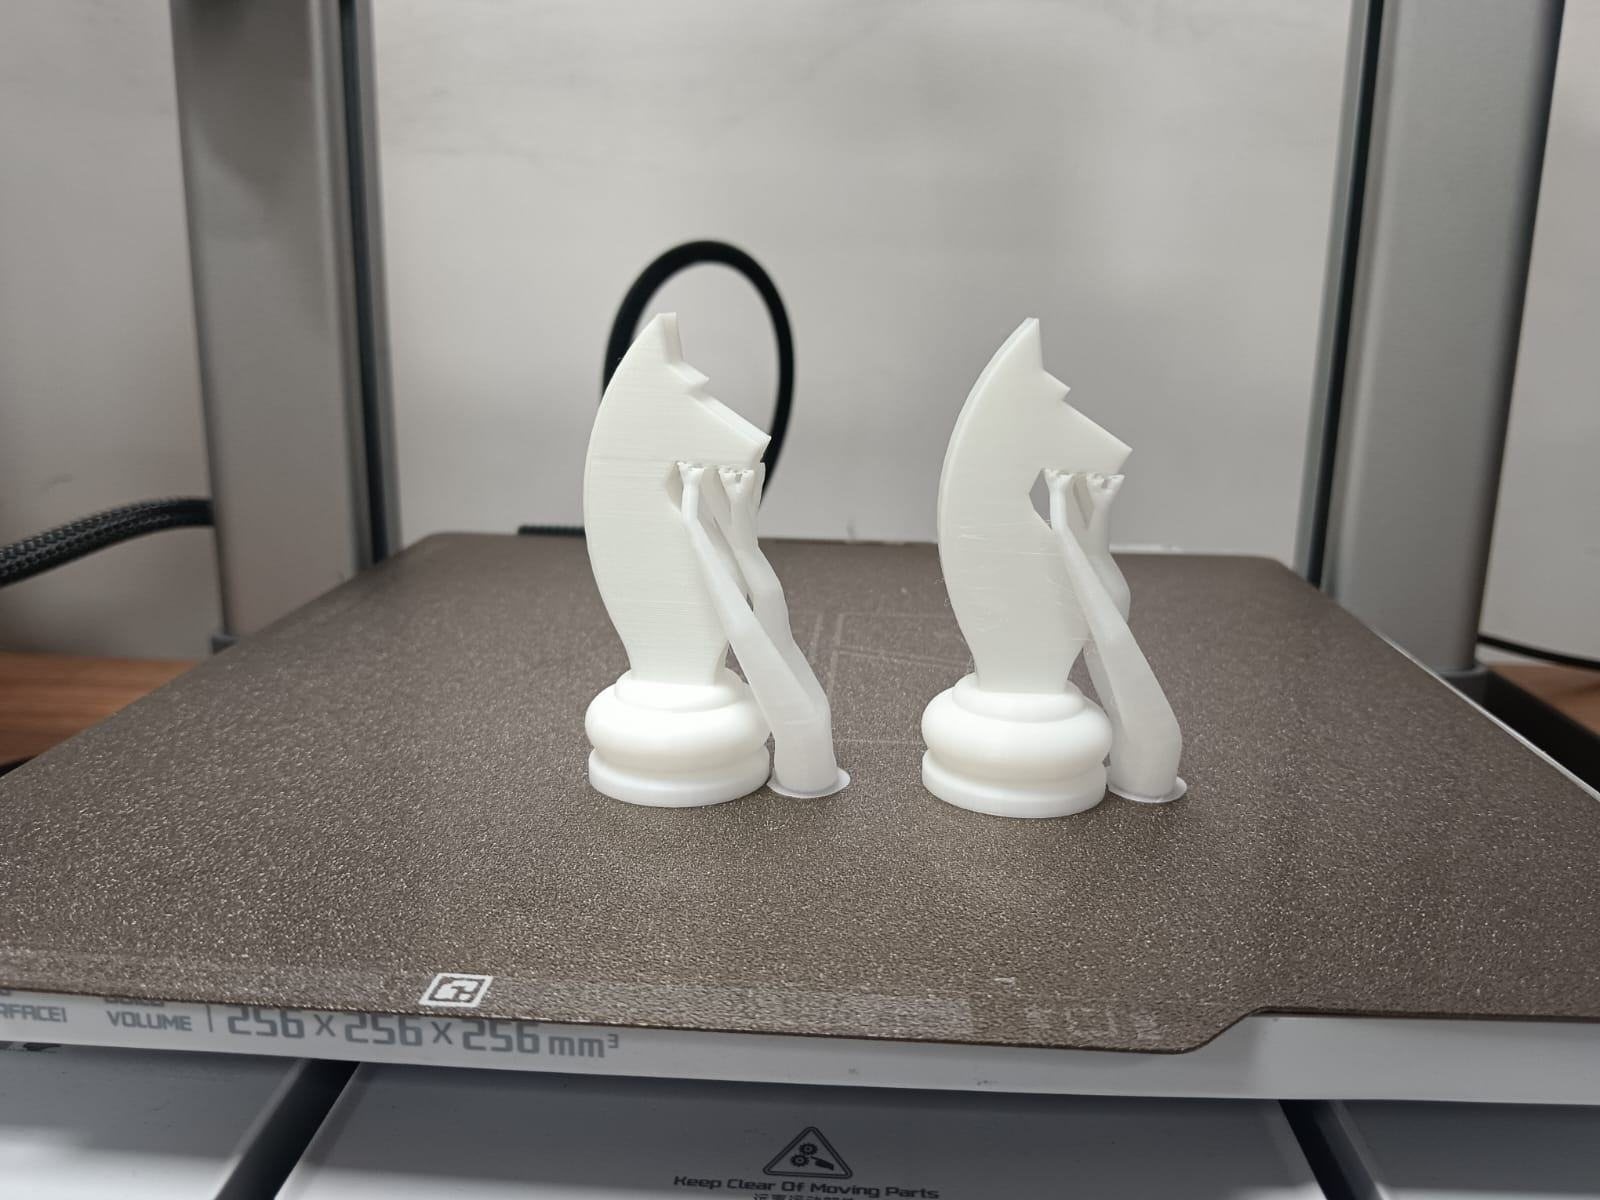
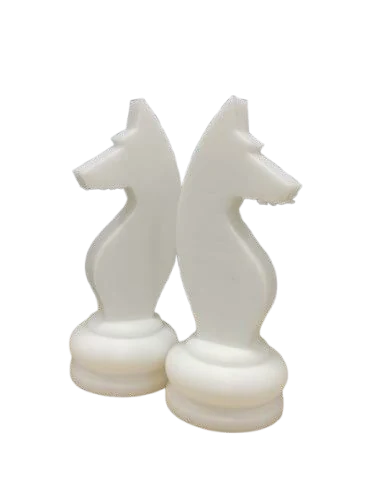
I increased the resolution to 0.08 mm and 0.12 mm to capture finer details. The print time increased to approximately 1 hour 25 minutes.
At higher resolutions the support structures were removed cleanly in one go, leaving no visible residue. The surface layers appeared finer and more intact as the resolution increased, showing improved detail and finish.